
 1")
 2")
 3")
 4")
 5")
 6")
 Vincent
To winterize a high tunnel greenhouse like the Tunnel Pro Plus, choose a dry, wind-free day and work with a team of 4–8 people. Loosen but do not remove the straps, detach the poly at the end arches, and set up lifting straps (about one per 50 ft). Attach the poly to a tube, use lifting lines to roll it evenly over the tunnel, and guide it across the arches. Place the folded poly in the Y-junction and secure it with three straps between each post. Check that everything is tight and uniform. Your Tunnel Pro Plus is now ready for winter.
Proper winterization ensures that your Tunnel Pro Plus structure stays protected, stable, and ready to withstand harsh winter conditions. This guide walks you through each step of the winterization process, with clear instructions and image placeholders to help you follow along.
Select a dry, wind-free day with low humidity.
Plan a team of 4 to 8 people, depending on tunnel length; roughly two people per 50 ft section.
Loosen every strap, but do not remove them.
They must stay in place for the entire procedure to winterize a high tunnel greenhouse
Prepare lifting straps approximately 50 feet long.
These will be used to lift the polyethylene cover.
Detach the cover at both ends of the arches to free it before lifting.
Pass a 50-foot strap over the top of the tunnel and secure it safely.
This will be used to lift the cover.
Attach a second 5P096-1 strap to each of those straps already fixed to the tube.
Repeat every 50 ft.
A 150-ft tunnel requires three lifting straps.
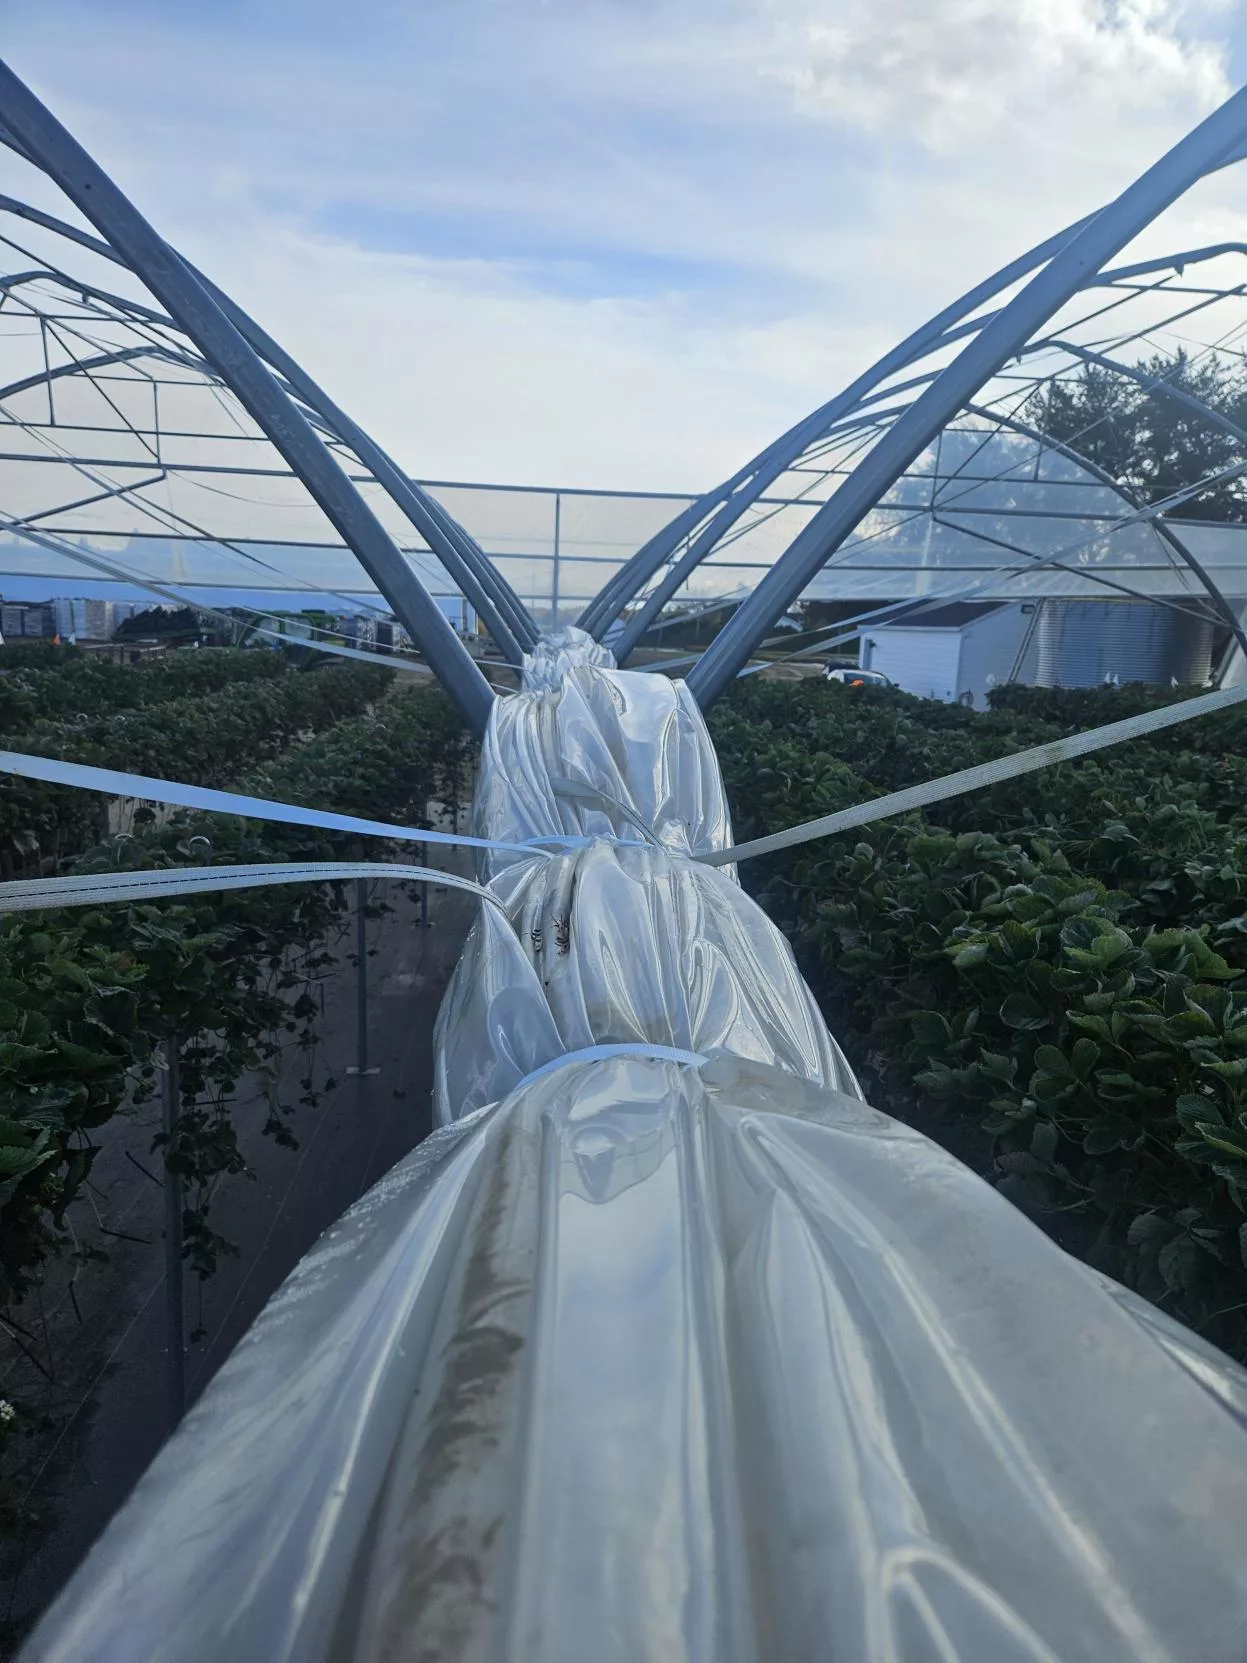
Place the folded polyethylene between the tunnels, inside the Y-shaped junction.
If multiple tunnels are connected, the first Y-junction will contain two folded covers.
If you have any questions or need technical support, contact us at:
📧 sales@harnois.com
Thank you to Production Lareault for letting us shoot this step-by-step guide on how to Winterize a High Tunnel Greenhouse